Registering an Account
- 19 Jun 2025
- 2 Minutes to read
- Contributors


- Print
- DarkLight
Registering an Account
- Updated on 19 Jun 2025
- 2 Minutes to read
- Contributors
- Print
- DarkLight
Article summary
Did you find this summary helpful?
Thank you for your feedback!
- Select the Register an account option on the Login screen, if you do not already have a username and password.
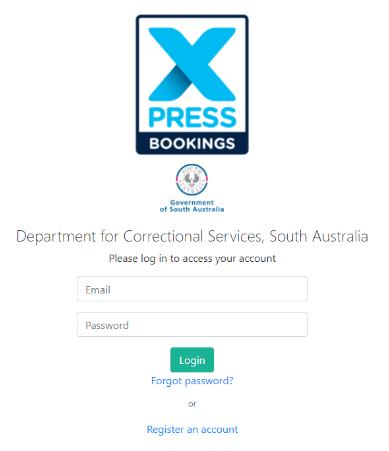
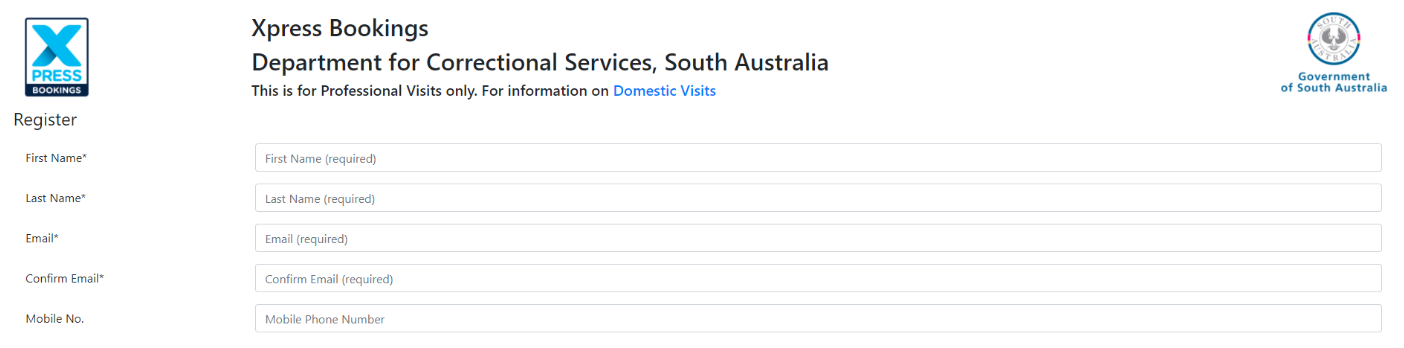
The new user registration form is displayed.Note:This registration process is for professional visits only. For access to information on domestic visits, select the Domestic Visits hyperlink. - Enter your First Name.
- Enter your Last Name.
- Enter your Email address.
- Enter you email address again into the Confirm Email field (both emails must match).
If you attempt to register an account for a user that already exists, a message will appear advising you to contact Support to proceed.
The fields marked with an asterisk * are mandatory, so if you do not complete a mandatory field or input something incorrectly the system will display a validation or warning message.
The Mobile No. field is an optional field, but if you omit to enter a number here, you will not receive SMS notifications.
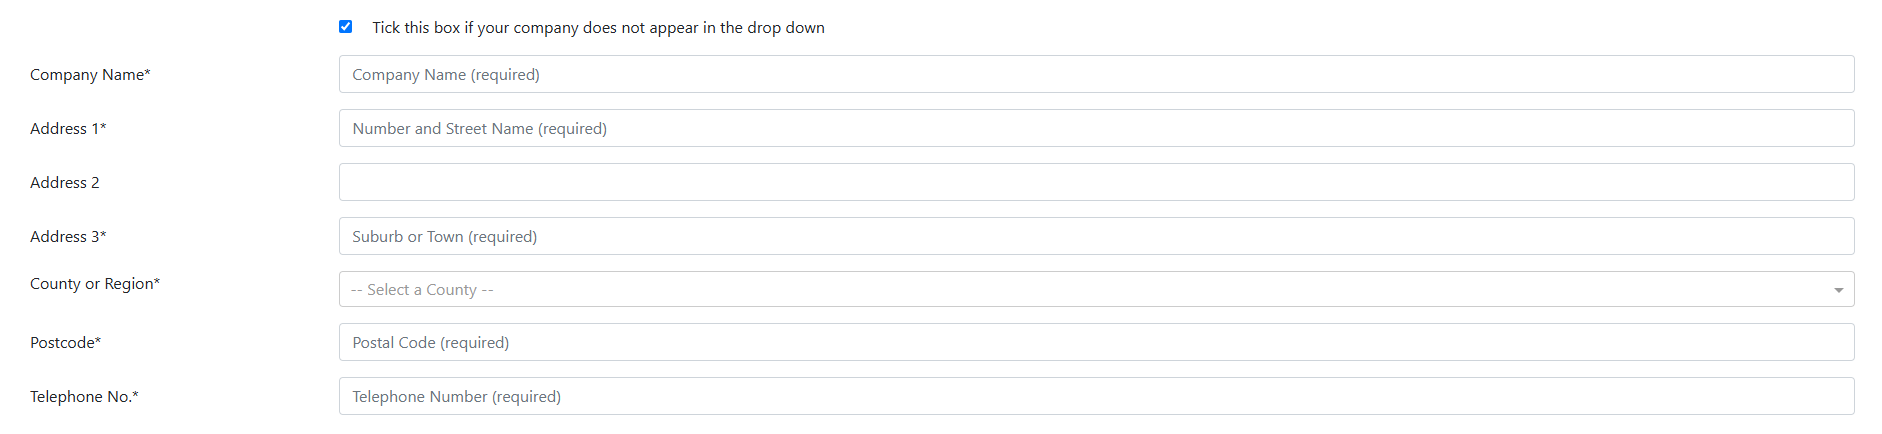
You can specify whether you prefer to receive confirmation of visit bookings, cancellations via email or SMS in your profile. - Select your Company from the drop-down list.Note:If a category has been selected in error, the Company drop-down can be cleared by using the Backspace key.
- Select the Company Address, if your company is listed and there are multiple addresses available for the company.

- Select the Tick this box... checkbox, if your company is not listed.
- Complete the necessary fields to register a new company. The character limit for all address fields is 50.
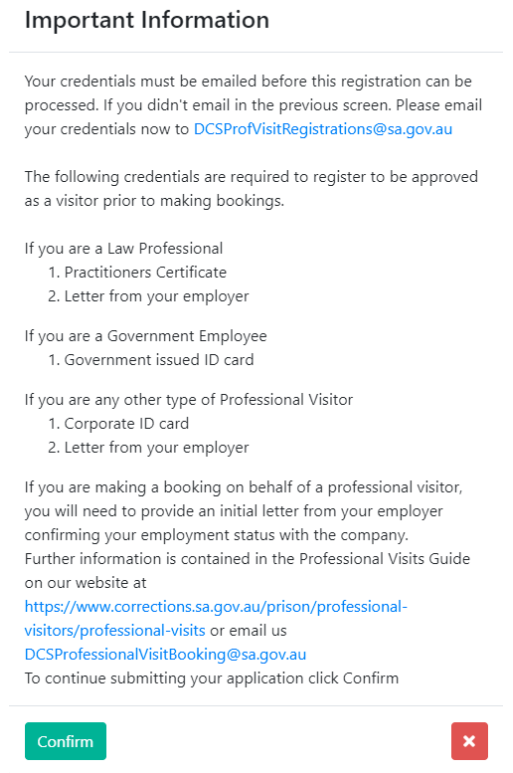
Next, you will need to provide documentary evidence to support your registration - a list of appropriate documents is provided. - Email your credential to the email address specified.

- Select the checkbox to acknowledge that you agree to the Disclaimer and Privacy Policy - both of which can be viewed by selecting the relevant hyperlink.
- Select the checkbox to acknowledge that you agree to the Conditions of Entry - details of which can be viewed by selecting the hyperlink.
- Select the I'm not a robot checkbox.
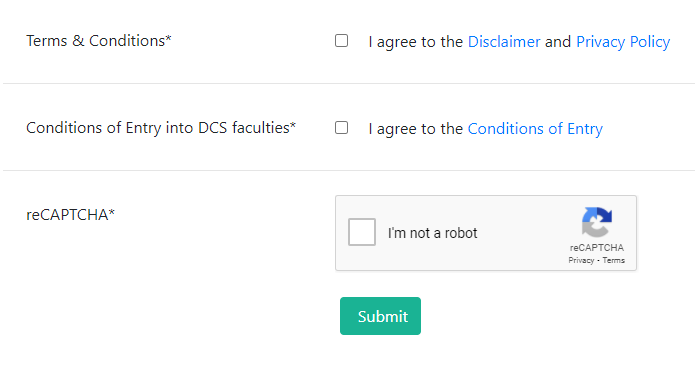
If the message to email credentials is displayed on the Registration form, when you select Submit, a reminder is displayed advising you to submit your credentials to the email address specified. - Select Confirm to acknowledge the message and proceed.
Confirmation that your request has been submitted is displayed.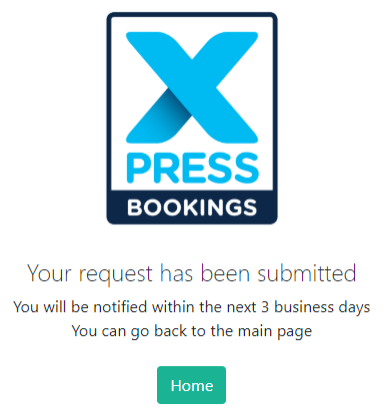
In addition, a notification is displayed at the bottom-right of the screen, indicating that your request has been submitted successfully and that an email providing login details will be forwarded to your registered email address on completion of the review process.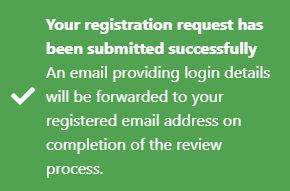
- Select Home to return to the homepage.
Your request is submitted to the pending queue of the Admin Portal, where it will be assessed and either Approved or Rejected. If it is approved, you will receive an email (similar to the example below) confirming your registration and issuing your password.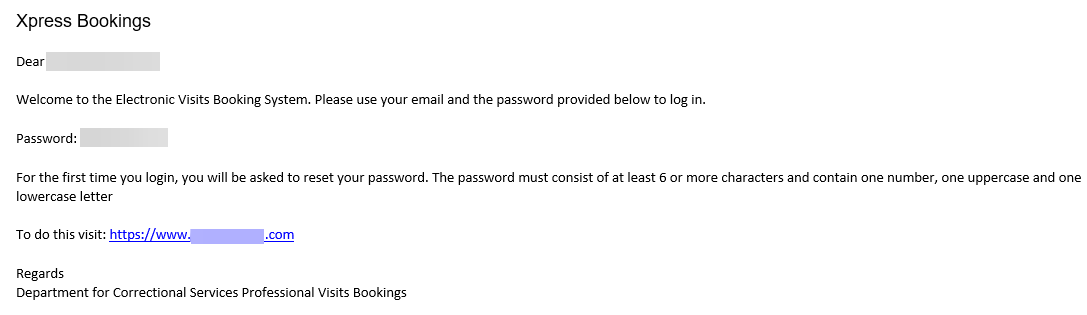
If your request is rejected, the email you receive will detail the reason/s why and will also advise whether or not you may reapply.Note:If you are unable to reapply, no further action will be taken and you will be unable to access the system. If you are able to reapply, the link in the email will navigate you to the registration page and your company details are pre-populated into the relevant fields.
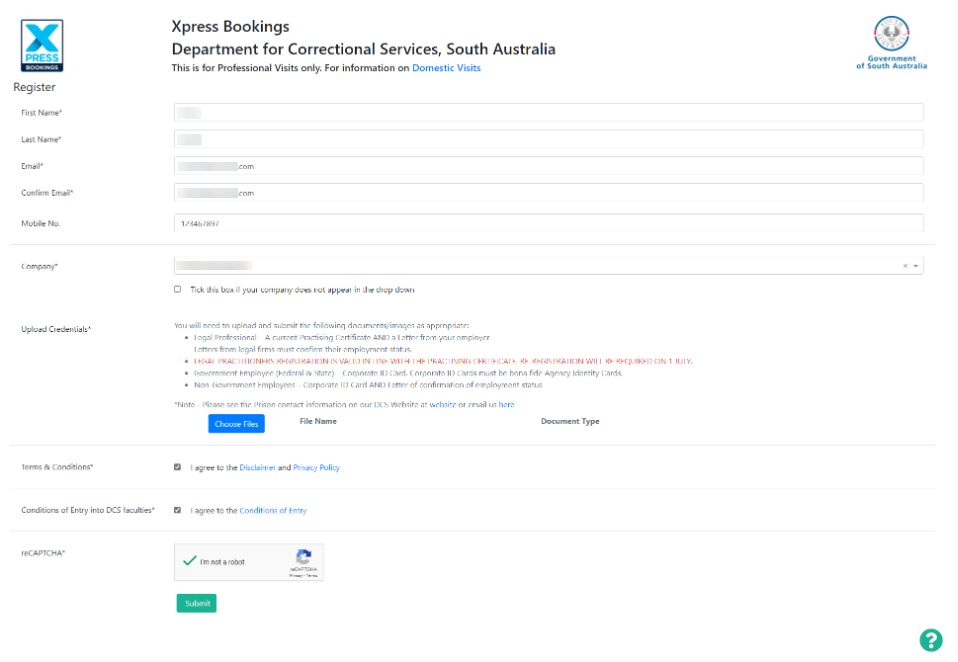
- Follow the process outlined above to re-submit your registration request.
Was this article helpful?