My Company Visitors
- 19 Jun 2025
- 1 Minute to read
- Contributors


- Print
- DarkLight
My Company Visitors
- Updated on 19 Jun 2025
- 1 Minute to read
- Contributors
- Print
- DarkLight
Article summary
Did you find this summary helpful?
Thank you for your feedback!
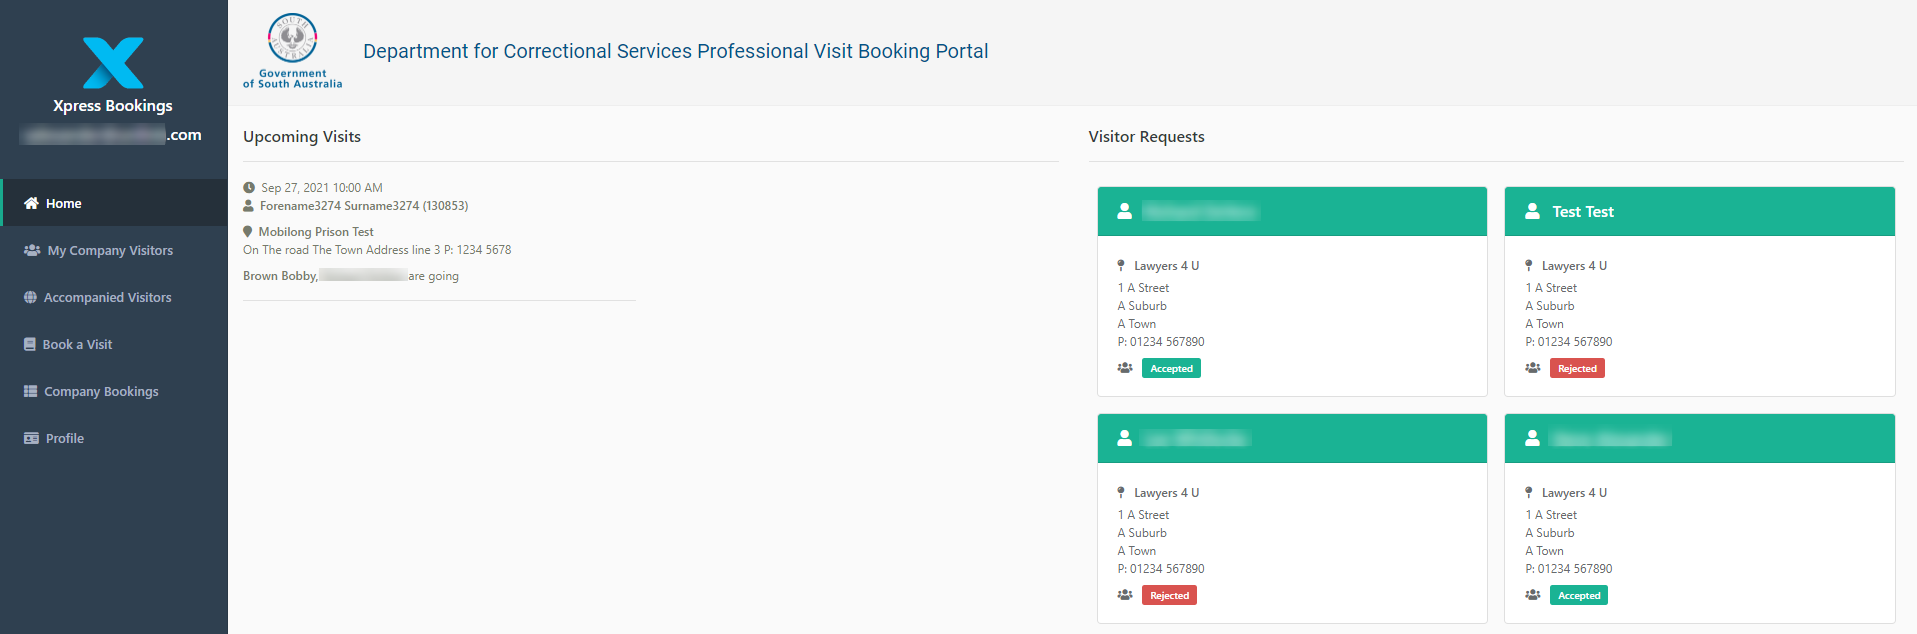
Having successfully logged in, you will be navigated to the homepage. The left-hand side of the screen provides a snapshot of all upcoming visits - who you are visiting, when and where. The nominal data listed here includes the name and ID number of the individual you are visiting. The right-hand side lists all the visitor requests for your company and details the status of each.
- Select My Company Visitors. This option provides information on all registered users for the company you work for. This is in tabular form and details all the people in the company with access to the portal (e.g. those with an Accepted status).
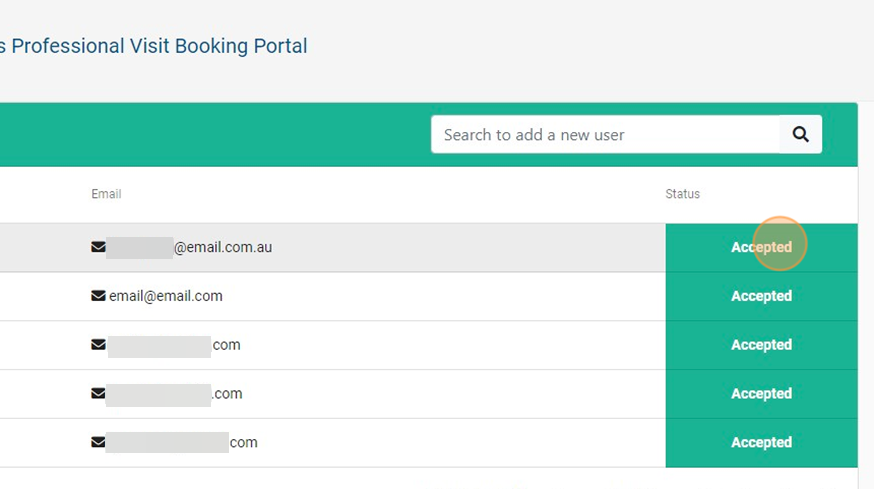
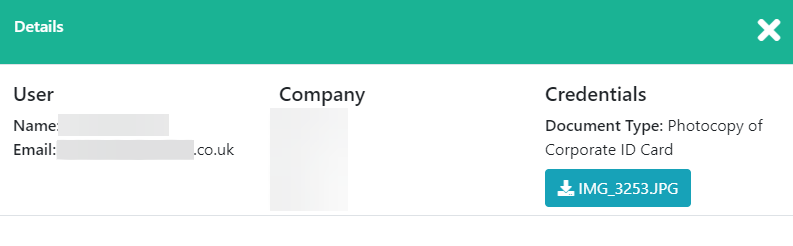
- Select a line item to view details relating to a user's application. A new window is displayed and you can view their credentials. In the case of an individual whose application has been rejected, you can check the reason.
- Select the X symbol (top right-hand corner of the new window) to close the window and return to the My Company Visitors view.
If a member of the company is missing from the list, you can try searching for them. - Enter data into the Search box. The Add new visitor option is automatically displayed.
- Select Add new visitor. You are navigated to the new visitor registration form. The Company selection field is missing, as this defaults to the current company - otherwise, it is exactly the same form as that outlined in the Registering an Account article.
Was this article helpful?